Fitting guide for Cabinet Hinge Lights
The Cabinet Hinge Light is very easy to fit, an should not take more than a few minutes to do.
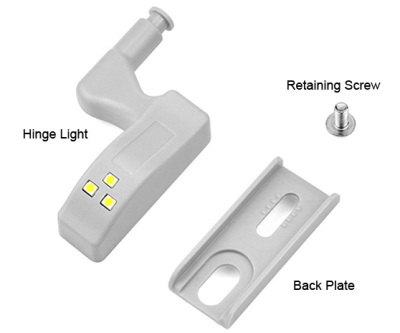
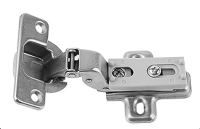
| Parts identifier |
 |
||
| Step 1 |
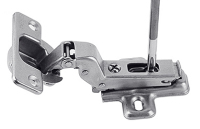
PLEASE NOTE: The Hinge should already be fitted to the cabinet before fitting the Hinge Light. Remove the screw from the hinge of the cabinet, this needs to be screw towards the back of the hinge (as shown) not the door alignment screw. |
 |
|
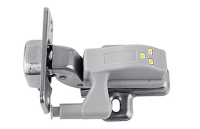
| Step 2 | Fit the back plate for the Hinge Light onto the hinge and return the screw into position |
 |
|
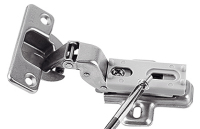
| Step 3 | Fit screw supplied with Hinge Light into back plate, then tighten screw onto backing |
 |
|
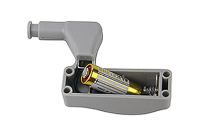
| Step 4 |
To avoid the light shining into your eyes after fitting the battery, we advise applying a small sticker or short length of electrical tape over the LEDs. Insert the included 12v battery into the hinge light |
 |
|
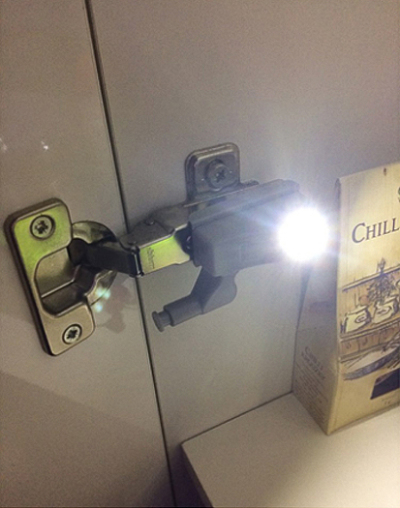
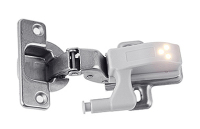
| Step 5 | Clip the Hinge Light onto the back plate, remove the electrical tape or sticker covering the LEDs and avoid looking directly at the LEDs when illumnated. |
 |
|
| Step 6 | The LED should light when the switch is depressed (door open) and switch off when the switch is pressed (door closed) |
 |